Producing effective training videos in-house offers businesses significant advantages, including cost control, content relevance, and direct oversight of messaging. For organizations looking to onboard new staff, upskill existing teams, or explain complex processes, video provides a dynamic, repeatable, and scalable solution. Understanding the foundational elements of training video production allows even beginners to create high-quality, impactful content that resonates with learners and achieves specific instructional goals without relying solely on expensive external agencies. For organizations looking to onboard new staff, upskill existing teams, or explain complex processes, training video production for businesses provides a dynamic, repeatable, and scalable solution.
Planning Your Training Video Project
Successful training videos begin long before any camera records footage. A structured planning phase ensures the final product effectively addresses its objectives and engages its target audience.
Defining Objectives and Audience
Before scripting, clearly define what specific knowledge or skills the video should impart. Is it for new hires learning company policy, experienced staff mastering new software features, or a sales team understanding a product update? Identifying the target learner's existing knowledge, learning style, and potential pain points will directly influence the video's tone, complexity, and examples. A video for advanced users will differ significantly from one designed for absolute beginners.
Scripting and Storyboarding
A detailed script is the backbone of any professional training video. It outlines every piece of dialogue, on-screen text, visual cue, and action. This ensures consistency, accuracy, and a logical flow of information. Beyond dialogue, the script should specify visual aids, demonstrations, and any interactive elements. Complementing the script, a storyboard visually maps out each shot, illustrating camera angles, graphics, and transitions. This pre-visualization step helps identify potential issues, ensures visual variety, and streamlines the filming process, saving time and resources during production. A detailed script is the backbone of any professional training video, outlining every piece of dialogue, on-screen text, visual cue, and action to ensure consistency and accuracy.
Essential Equipment for Beginners
High production value doesn't always require top-tier equipment. Beginners can achieve excellent results with accessible tools, focusing on quality where it matters most.
Camera Options
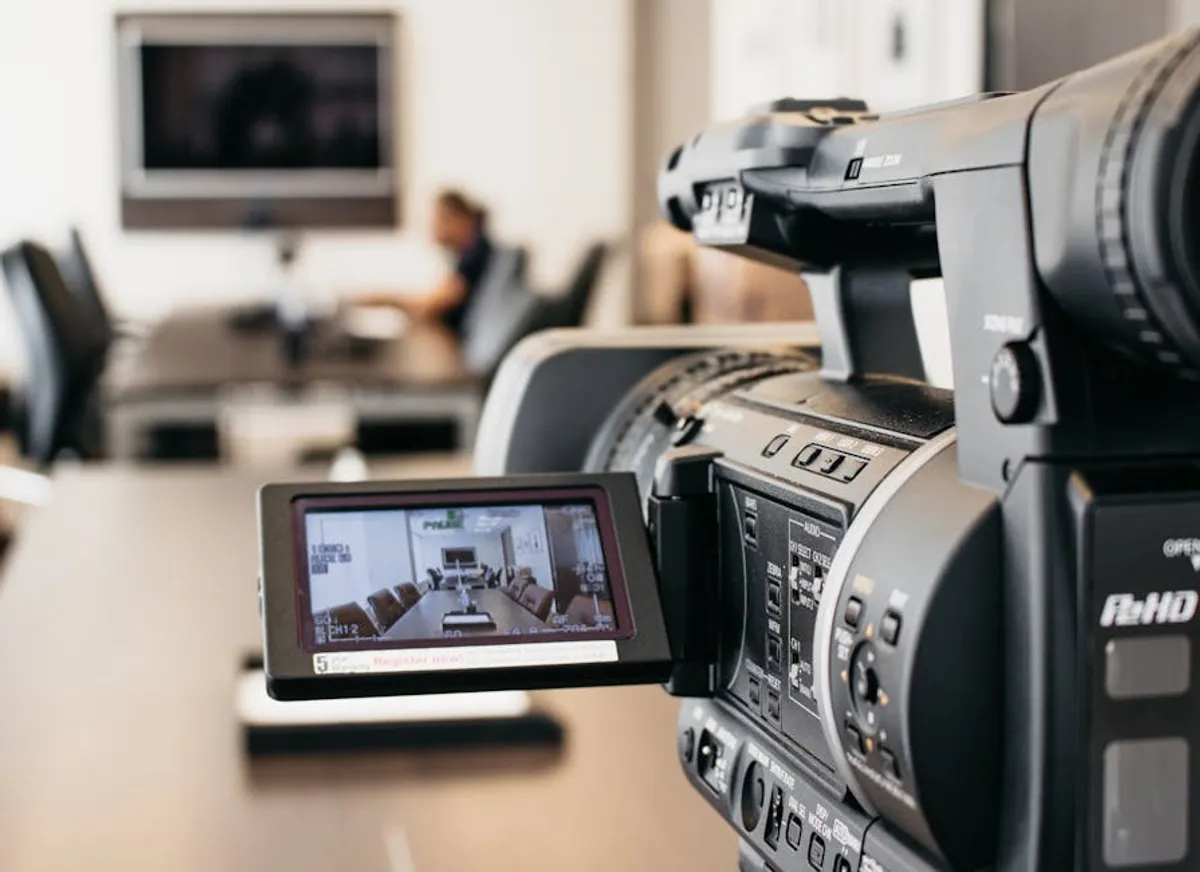
Modern smartphones offer remarkable video quality, often sufficient for introductory training videos, especially when paired with stable mounts. For improved image quality, greater control over depth of field, and better low-light performance, mirrorless or DSLR cameras are a step up. For screen recordings or remote presenter segments, a good quality webcam integrated into your computer setup can be perfectly adequate.
Audio Quality is Paramount
Poor audio quality is the quickest way to undermine an otherwise well-produced video. Viewers will tolerate imperfect visuals more readily than muffled or noisy audio. External microphones are critical: lavalier microphones clip onto clothing for clear voice capture, shotgun microphones are ideal for capturing sound from a specific direction, and USB desktop microphones provide excellent quality for voiceovers or seated presentations. Always record audio in a quiet environment, minimizing echoes and background distractions.
Lighting Fundamentals
Effective lighting makes subjects look professional and ensures clarity. A basic three-point lighting setup (key light, fill light, and backlight) can transform a scene. The key light is the main light source, the fill light softens shadows created by the key, and the backlight separates the subject from the background. Even natural window light, diffused and positioned correctly, can serve as a primary light source for beginners.
Teleprompters and Autocue
For presenters who need to deliver precise information or maintain consistent messaging, a teleprompter or autocue system is invaluable. These devices display the script directly in front of the camera lens, allowing the presenter to read naturally while maintaining eye contact with the audience. This reduces takes, improves delivery confidence, and ensures all key points are covered accurately.
Production Techniques for Clarity
How a video is filmed directly impacts its instructional effectiveness. Focus on techniques that enhance clarity and viewer comprehension.
Filming Best Practices
Stable footage is non-negotiable. Use tripods or gimbals to eliminate shaky camera work. Pay attention to framing and composition; the rule of thirds can guide subject placement for more visually appealing shots. Ensure presenters maintain appropriate eye-line, ideally looking directly into the camera to create a personal connection with the learner. For demonstrations, ensure the product or process is clearly visible and well-lit.
Screen Recording and Demos
Many training videos require demonstrating software or online processes. Utilize screen recording software that allows for high-resolution capture. Features like mouse highlighting, click animations, and zoom functions can draw attention to critical areas. Integrate voiceovers to guide viewers through each step, explaining actions as they occur on screen. Plan your screen recording flow to avoid unnecessary mouse movements or delays.
Pro Tip: Always prioritize audio quality. Even with a high-definition camera, poor audio makes a video difficult to watch and undermines its credibility. Invest in a good external microphone and record in a controlled, quiet environment to minimize distractions and ensure your message is heard clearly.
Post-Production: Editing and Export
The editing suite is where raw footage transforms into a polished training asset. This stage refines the narrative and enhances the learning experience.
Software Choices
Several video editing software options cater to different skill levels and budgets. Free choices like DaVinci Resolve (with a robust free version) and Shotcut offer powerful features for beginners. Paid professional options such as Adobe Premiere Pro and Final Cut Pro provide advanced tools and more extensive workflows for complex projects.
Key Editing Steps
Editing involves cutting out mistakes, awkward pauses, and unnecessary footage to maintain a brisk, engaging pace. Incorporate graphics, text overlays, and lower thirds to highlight key information, introduce speakers, or display important terms. Background music can set a tone, but keep it subtle and ensure it doesn't distract from the narration. Sound effects can punctuate actions. Finally, color correction and grading ensure visual consistency and enhance the overall aesthetic appeal.
Export Settings for Various Platforms
The final step is exporting your video in the correct format and settings for its intended distribution. Consider the platform: will it be hosted on a Learning Management System (LMS), YouTube, Vimeo, or an internal server? Common export settings include resolution (e.g., 1080p), frame rate (e.g., 24fps or 30fps), and bitrate. Higher bitrates yield better quality but larger file sizes. Optimize settings to balance quality with file size and streaming performance.
Getting Started with Your First Training Video
Producing your first training video doesn't require perfection, but rather a focus on clear communication and continuous improvement. Start with a simple, well-defined topic. Use the equipment you have available, prioritizing good audio and stable visuals. As you gain experience, you can gradually invest in more advanced tools and techniques. The goal is to create content that effectively educates your audience, making complex information accessible and engaging. Iterate on your approach, gather feedback from learners, and refine your process for future projects. Each video you produce builds your internal capability and enhances your organization's learning resources.
Frequently Asked Questions
How long should a training video be?
The ideal length varies by topic complexity and audience attention span. Shorter videos, typically 3-7 minutes, are often more effective for single concepts or microlearning modules. For more complex topics, consider breaking them into a series of shorter videos rather than one long segment to maintain engagement.
What's the most common mistake beginners make in training video production?
The most common mistake is neglecting audio quality. Poor audio, characterized by background noise, echoes, or low volume, makes a video frustrating to watch and significantly hinders learning, regardless of visual quality.
Can I use stock footage or music in my training videos?
Yes, stock footage and music can enhance training videos, but ensure you have the appropriate licenses for commercial use. Royalty-free options are available, but always check the specific terms of use to avoid copyright infringement.
What's the best way to distribute training videos?
Distribution depends on your audience and security needs. Learning Management Systems (LMS) offer robust tracking and integration. Public platforms like YouTube or Vimeo are good for external audiences, while internal servers or secure cloud storage are suitable for proprietary content within an organization.