Producing effective workplace training videos often faces a primary hurdle: budget constraints. High-quality video production is frequently perceived as an expensive undertaking, requiring professional crews, sophisticated equipment, and costly post-production. However, this perception overlooks the significant capabilities of readily available technology and strategic planning. Creating impactful training content does not necessitate a large financial outlay; instead, it demands resourcefulness, a clear understanding of objectives, and a focus on core communication principles. This guide outlines how to leverage accessible tools and smart workflows to film compelling workplace training videos without overspending.
Strategic Planning for Cost Efficiency
The most significant budget savings begin long before any camera starts rolling. Thorough pre-production minimizes costly reshoots and ensures a streamlined process.
Defining Objectives and Scope
Before any filming, clearly articulate what the training video aims to achieve. Is it for onboarding, skill development, compliance, or product demonstration? Identify the target audience and their existing knowledge levels. This clarity dictates the content, tone, and length, preventing scope creep and unnecessary footage. A concise, focused video is often more effective and less expensive to produce than a sprawling, unfocused one.
Scripting and Storyboarding
A detailed script is the blueprint for your video. It defines every line of dialogue, on-screen text, and visual cue. Storyboarding, even with simple sketches, visualizes each scene, shot angle, and transition. This process helps identify potential issues early, ensures a logical flow, and provides presenters with clear guidance, reducing takes during filming. It also allows for collaboration and feedback before production costs escalate.
Location Scouting and Permissions
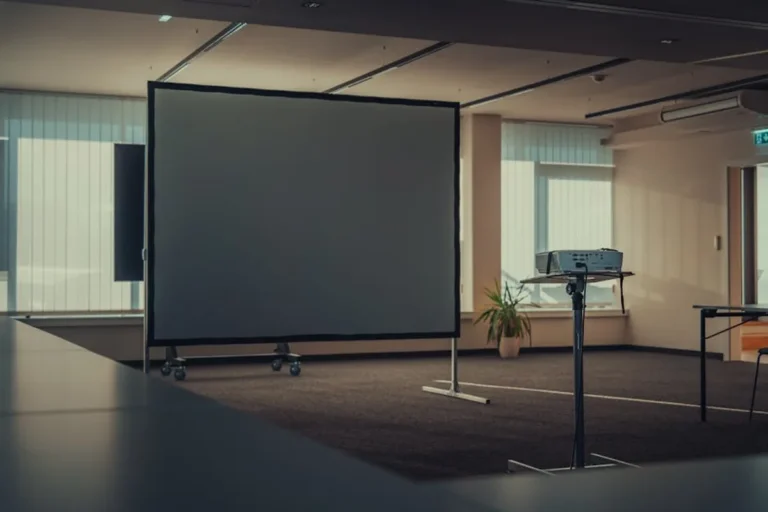
Utilize existing company spaces whenever possible. Offices, meeting rooms, warehouses, or even quiet common areas can serve as suitable backdrops. Prioritize locations with good natural light and minimal background noise. If external locations are considered, ensure they are free or low-cost and that all necessary permissions are secured in advance to avoid last-minute complications or fees.
Maximizing Gear on a Minimal Budget
Modern technology has democratized video production. High-end equipment is not a prerequisite for quality, especially when focusing on instructional content.
Camera Choices
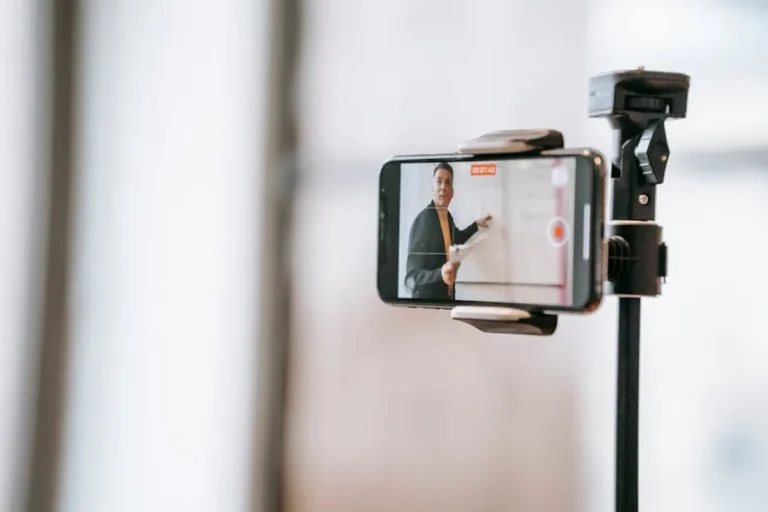
Many contemporary smartphones are equipped with cameras capable of capturing high-definition video with excellent clarity and color reproduction. For slightly more control, consider entry-level mirrorless cameras or DSLRs, which offer interchangeable lenses and better low-light performance without significant investment. The key is to understand the camera's limitations and work within them.
Best for: Everyday office environments, quick demonstrations, interviews.
Audio is Paramount
Poor audio quality is the quickest way to undermine a video's professionalism and effectiveness. Viewers tolerate less-than-perfect visuals more readily than muffled or noisy audio. Invest in an external microphone. USB microphones are affordable and connect directly to a computer, while lavalier (lapel) microphones offer clear audio capture for presenters and connect to smartphones or cameras. Position the microphone close to the speaker.
Pro Tip: Prioritize audio equipment over camera upgrades if budget is extremely tight. Clear, crisp sound ensures your message is understood, even if the video quality isn't cinematic. A $50 microphone can make a $1000 camera look professional, while a $1000 camera with poor audio still sounds amateurish.
Lighting Solutions
Natural light is often the best and cheapest option. Position your subject near a window, ensuring the light is diffused (e.g., through sheer curtains) to avoid harsh shadows. For indoor setups without sufficient natural light, simple LED panel lights are affordable and provide soft, consistent illumination. Even DIY solutions like white foam boards can be used as reflectors to bounce light and fill shadows.
Stabilization Tools
Shaky footage is distracting. A sturdy tripod is an indispensable, affordable investment that instantly elevates video quality. Monopods offer portability and stability. For smartphone users, small, inexpensive gimbals or even simply leaning the phone against a stable surface can make a significant difference.
Effective Filming Techniques for Lean Productions
Good technique can compensate for basic equipment, ensuring professional-looking results.
Framing and Composition Basics
Adhere to fundamental principles like the rule of thirds, placing subjects slightly off-center for a more dynamic look. Ensure subjects are framed at eye level to create a more engaging connection with the viewer. Maintain consistent framing throughout a segment for visual continuity.
Clear Communication
Encourage presenters to speak clearly, directly to the camera, and at a moderate pace. Using a teleprompter app on a tablet or smartphone can help presenters deliver their lines smoothly and maintain eye contact. Rehearse extensively to ensure natural delivery and reduce errors.
B-Roll and Visual Aids
Supplement talking-head footage with B-roll (cutaway shots) that illustrate the concepts being discussed. This could include close-ups of equipment, demonstrations of processes, or relevant graphics. Utilize existing company photos, diagrams, or free stock image/video libraries to add visual interest and reinforce points without additional filming.
Minimizing Distractions
Before filming, identify and eliminate potential distractions. This includes turning off phones, closing doors, silencing notifications, and ensuring the background is clean, uncluttered, and relevant to the training topic. A quiet environment is crucial for clear audio capture.
Post-Production Without High Software Costs
Editing is where raw footage transforms into a polished training video. Several powerful and free software options exist.
Free and Affordable Editing Software
Robust, free editing suites like DaVinci Resolve offer professional-grade capabilities for editing, color correction, and audio mastering. Other user-friendly options include Shotcut or the basic video editors often pre-installed on operating systems (e.g., Photos app on Windows, iMovie on macOS). These tools allow for cutting, splicing, adding text, and basic effects.
- DaVinci Resolve: Professional-grade, extensive features, steeper learning curve.
- Shotcut: Open-source, cross-platform, good for basic to intermediate editing.
- iMovie (macOS/iOS): User-friendly, intuitive for beginners.
- Windows Video Editor: Basic functionality, pre-installed on Windows 10/11.
Sound Enhancement
Even with good recording, audio often benefits from post-production. Use editing software to normalize audio levels, ensuring consistent volume throughout the video. Basic noise reduction tools can minimize hums or background noise, making dialogue clearer.
Graphics and Text Overlays
Simple, clear text overlays can highlight key takeaways, introduce topics, or clarify complex terms. Avoid overly elaborate animations or fonts that might distract from the content. Use consistent branding elements if available.
Music and Sound Effects
Background music can enhance engagement and set a tone, but it must be royalty-free to avoid copyright issues. Platforms like the YouTube Audio Library, Free Music Archive, or Pixabay offer extensive collections of free-to-use music and sound effects. Ensure music is subtle and doesn't overpower dialogue.
Distribution and Accessibility on a Budget
Once complete, the video needs to reach its audience efficiently and affordably.
Internal Hosting Platforms
Leverage existing company infrastructure. Platforms like Microsoft SharePoint, Google Drive, or internal learning management systems (LMS) can host videos securely. For broader or external distribution, a private YouTube or Vimeo channel offers reliable hosting and streaming without direct cost, though private options may have subscription tiers for advanced features.
Accessibility Features
Make videos accessible by adding captions. Many hosting platforms offer auto-generated captions, which can then be manually reviewed and edited for accuracy. Providing a downloadable transcript also enhances accessibility and allows for quick content review.
Actionable Steps for Budget-Conscious Training Film Production
Creating high-quality workplace training videos on a budget is entirely feasible with a disciplined approach. Focus on meticulous planning, smart equipment choices, effective filming techniques, and leveraging free or low-cost post-production tools. The emphasis should always be on clear communication and practical value for the viewer, rather than cinematic extravagance. By prioritizing these elements, organizations can produce impactful training content that directly supports their objectives without significant financial strain.
Frequently Asked Questions
Can a smartphone truly produce professional-looking training videos?
Yes, modern smartphones are capable of recording high-definition video suitable for professional training. The key is to pair them with external audio equipment, use proper lighting, and ensure stable footage with a tripod or gimbal. The quality of the content and presentation often outweighs minor differences in camera resolution.
What is the single most important budget item to prioritize?
Audio equipment. Clear, intelligible sound is critical for effective communication in training videos. Viewers are more forgiving of visual imperfections than they are of poor audio quality. A good external microphone will significantly enhance the perceived professionalism of your video, regardless of the camera used.
How long should a typical training video be?
There's no universal rule, but shorter videos generally have higher completion rates. Aim for concise segments, typically 3-7 minutes for complex topics broken into modules, or up to 15-20 minutes for a comprehensive overview. Focus on delivering information efficiently and respect the viewer's time.
Are there legal considerations for using free music or stock footage?
Absolutely. Always verify the licensing terms for any free music, sound effects, or stock footage. Many resources offer content under Creative Commons licenses, but specific attribution requirements or restrictions on commercial use may apply. Ensure you understand and comply with these terms to avoid copyright infringement.